11 Tips to Master Revit Parameters
Aug 21, 2022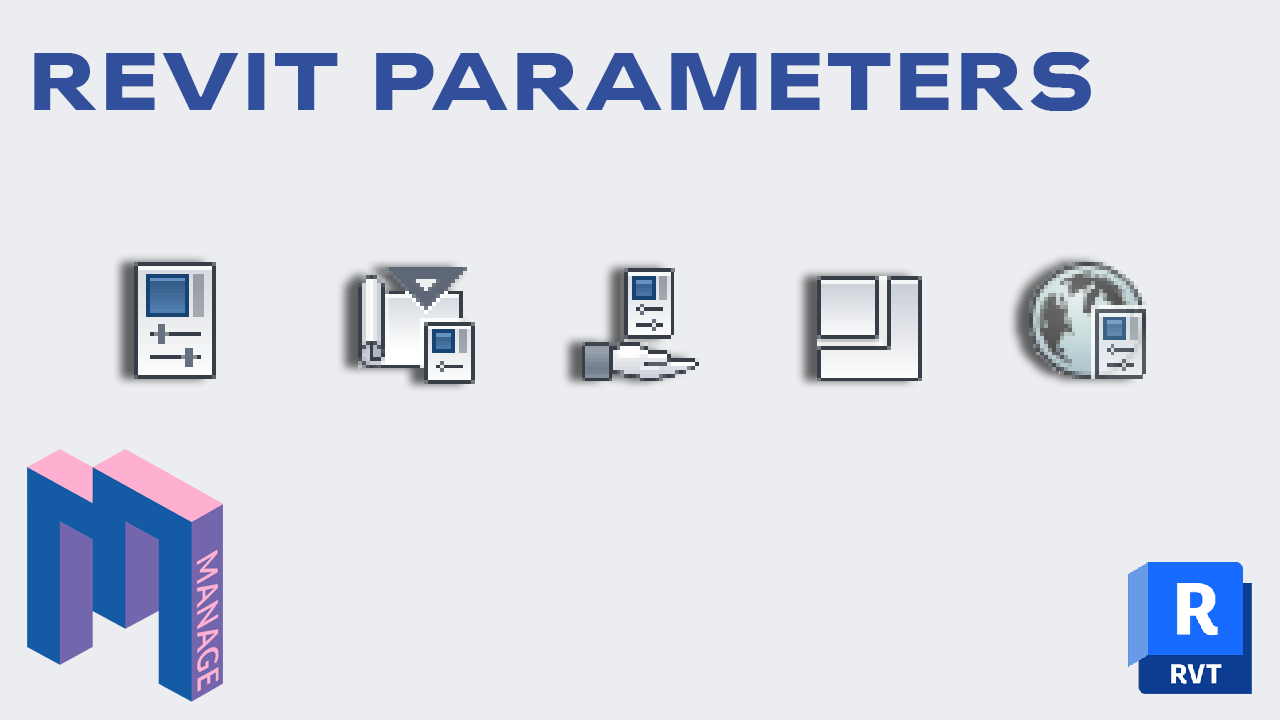
This guide takes a deep dive into Revit parameters, helping you distinguish and master the different types of parameters. This is an excerpt from our MANAGE learning package for Revit, aimed at users who aspire to become great BIM managers.

These parameters are built-in by default in Revit; they can never be removed, renamed or modified.

This tool is used to assign new parameters to any category of elements in Revit.

Family parameters are created inside families.

These parameters can be shared among multiple families, projects and tags. They require the use of a separate text file.

Use these parameters inside a project to control multiple parameters at once.
The graph below explains the difference between all parameters. As you can see, only Shared Parameters can be both tagged and scheduled.

Built-in parameters for both type and instance can’t be renamed or removed. They are hard-coded in Revit and will be there forever.


When creating new parameters, you will be asked to pick between Type and Instance.
You will also have to name your parameter, pick the group, type of parameter and discipline. The type of parameters most commonly used are Text, Yes/No, Length and Number.

Finally, you will be asked to pick a specific category that will be assigned to parameters. The categories might be different depending on if you selected Type or Instance parameter. The category option isn’t available if you are creating a parameter inside a family.


Family parameters are always created inside families. Once the family is loaded in a project, the parameter can’t be used in schedules and tags unless it is a Shared Parameter (more on that later). In this example, we create a new Glass Color type parameter in a window family.

Once the family is loaded back into the project, you can see the Glass Color parameter isn’t available in the schedule fields.

If you want to tag and schedule user-created parameters from families, you’ll have to use the Shared Parameters feature. The first step is to create a .txt file.
Go to the Shared Parameters menu, located in the Manage tab. Create a new text file. Name it and make sure to place it on your local network.

Once your shared parameter file is ready, you are ready to add shared parameters inside of it. First, you’ll need to create a group. In this example, we’ll create a Glass Color parameter that is going to be used in windows. First, create a Parameter Group. We’ll call the group Windows.

Then, create a new parameter called Glass Color. Place it in the Windows group.

Let’s go back to our window family and create a new parameter. This time make sure it is a Shared Parameter. Select the Glass Color parameter.


You’ll have a chance to select a group in the properties and select whether the parameter will be Type or Instance. The other options are locked.

Save the family and load it back into your project.
Once again, create a windows schedule. The Glass Color field should now be available!

Here’s a window schedule that indicates the mark and glass color of each window.

The downside of this feature is that many Internet families you can download on websites such as BIM Objects are made by clueless people, including dozens of useless shared parameters. Every time you create a schedule, dumb parameters will be available as fields. That’s why you have to be careful with families made by manufacturers.
Here is an example of a window family found on BIM Objects.

Once you insert the family in your project, look at all the useless parameters that become available when creating schedules:

If you are a manufacturer creating families, please don’t use shared parameters for information such as phone number that doesn’t have to be tagged or scheduled. Remember, regular user-created family parameters won’t appear in schedules.
If you don’t want to see these parameters in the schedule available fields, you can convert them from Shared Parameter to Family Parameter by clicking the pencil icon.

In the previous tip, we showcased how to create a Glass Color parameter
in a single family. What if you have 50 window families and want to add this parameter to them? You could modify all families individually, but that would be long and boring.
That’s when Project Parameters can be helpful. You will find this tool in the Manage tab. Click on Add... to create a new parameter. Then, you will have to pick between Project and Shared. In this case, a shared parameter would allow you to use tags, but both options allow parameters in schedules.

We create the Glass Color as a Type parameter and assign it to the Windows category.

Once the parameter is assigned, every single window type in your project will have this parameter, even if it is not included inside the family itself. This strategy works well with “data” type parameters but isn’t suitable with parameters that involve the geometry of the family.

Now that you have created multiple shared parameters inside your family, maybe you want to tag that parameter.
Let’s use the Glass Color parameter example once again. Create a family and use the Window Tag template. Then, add a new label inserted on the reference planes intersection. Create a new parameter and select the Glass Color shared parameter you’ve just created.

Now that the new parameter is on the list, click on the green arrow to add the Glass Color parameter to the label.

Enter a sample value and then click on OK.

Load your tag back into your project. You are ready to use it.

In your template, you should use a smart nomenclature system to classify shared parameters. This way, it’s easy to know which parameters you created and which parameters are alien spam from garbage families.
Here is an example of a prefix you can use:
Here is an example of how you can use rooms parameters:

Note: some BIM managers hate prefix in shared parameters names. It might not be a good solution for everyone.
![]()
In Revit, there is no way to quickly add multiple shared parameters to project or to a family. You have to add them manually, one by one. The free DiRoots plugin called ParaManager allows you to automate boring parameters tasks.
Note: ParaManager is now a tool part of the great DiRoots One plugin.
In this example, we load the shared parameters text file in the plugin. Then, we select the 8 parameters simultaneously and assign them to the correct category.

Once the parameters are imported, you’ll get the chance to set the type of parameter and categories to be assigned. Many hours of boring work saved. Thanks, DiRoots!

🔥 Save big: Get 25% off on all BIM Pure courses & content.
🧠 Get Revit Mastery: Access our full catalog of courses, templates, families, and live events.
Promotion ends on June 22nd.
Enter your details below to get this free guide.