How to Quickly Create a Pattern in Revit Using pyRevit
Jan 07, 2020

Creating patterns in Revit used to be tedious and horrible. You had to manually enter values in a text file. You don’t need to waste your time anymore. The amazing pyRevit plugin lets you create patterns with just a few clicks.
pyRevit is a free plugin for Revit created by Ehsan Iran-Nejad, who is based in Portland, Oregon.
Download the latest version of pyRevit here: https://github.com/pyrevitlabs/pyRevit/releases
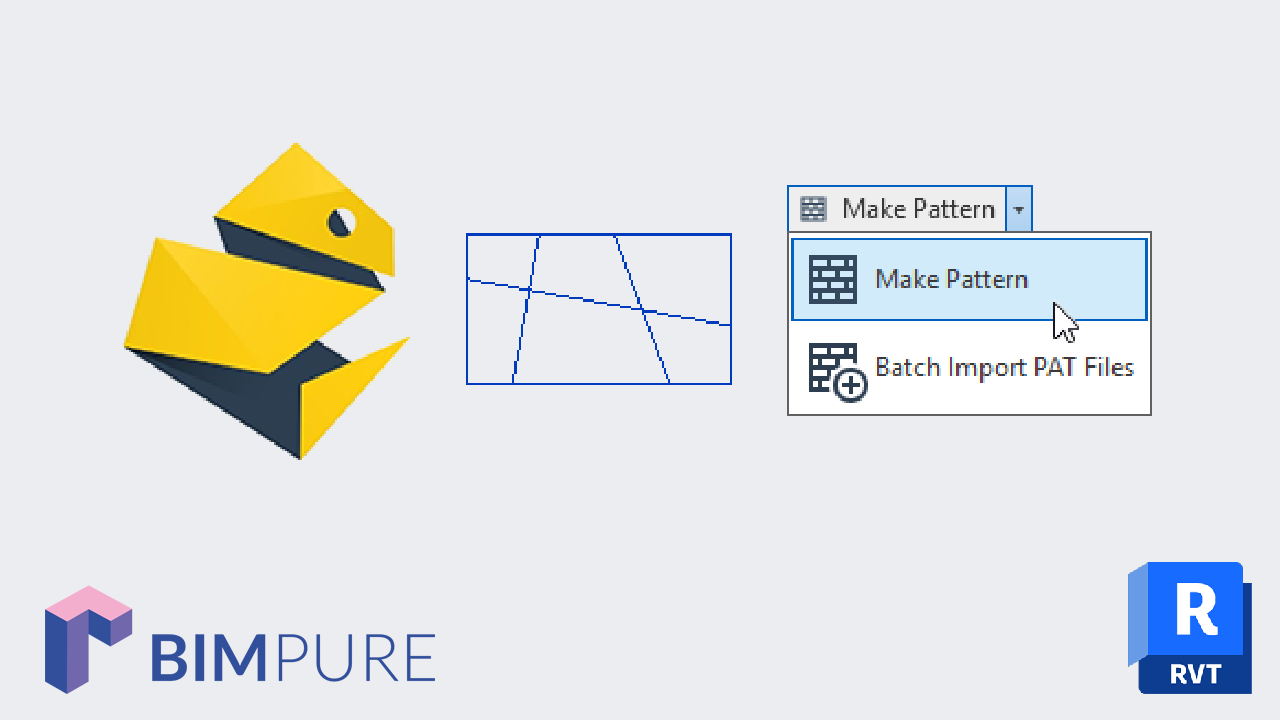
When pyRevit is installed, you will find a new tab inside your Revit file. To create a pattern, you should create a new Drafting View. Make sure the whole pattern fits inside a rectangle, although you don’t have to draw an actual rectangle. Select the lines and use the Make Pattern tool in the pyRevit tab.

You can activate some options like flip, scale, rotation and Create Filled Region. Enter a pattern name and select either Detail or Model pattern. When you are ready, click on Create Pattern.

Now, you have to click on two points: the origin (bottom-left corner) and then the top-right corner. Use snaps to guide you.

Now, you have to click on two points: the origin (bottom-left corner) and then the top-right corner. Use snaps to guide you.


The Make Pattern feature is just the tip of the iceberg. Don’t miss the other insanely amazing tools included in pyRevit.
Enter your details below to get this free guide.