Comparing 6 Revit Rendering Plugins
Oct 11, 2018

In this post, we test most of the major Revit rendering tools. This is not an in-depth review but rather a quick glance at the available options.
2024 notice: some of the pricing and information might not be current. Verify the info on each plugin creator's website.
In this test, we are mostly focused on the out-of-the-box capabilities. Most of the rendering tools can produce mind-blowing renderings if you are willing to spend countless hours. But here, we wanted to know what happened if you spent about 10 minutes with a rendering plugin while using mostly native Revit materials.
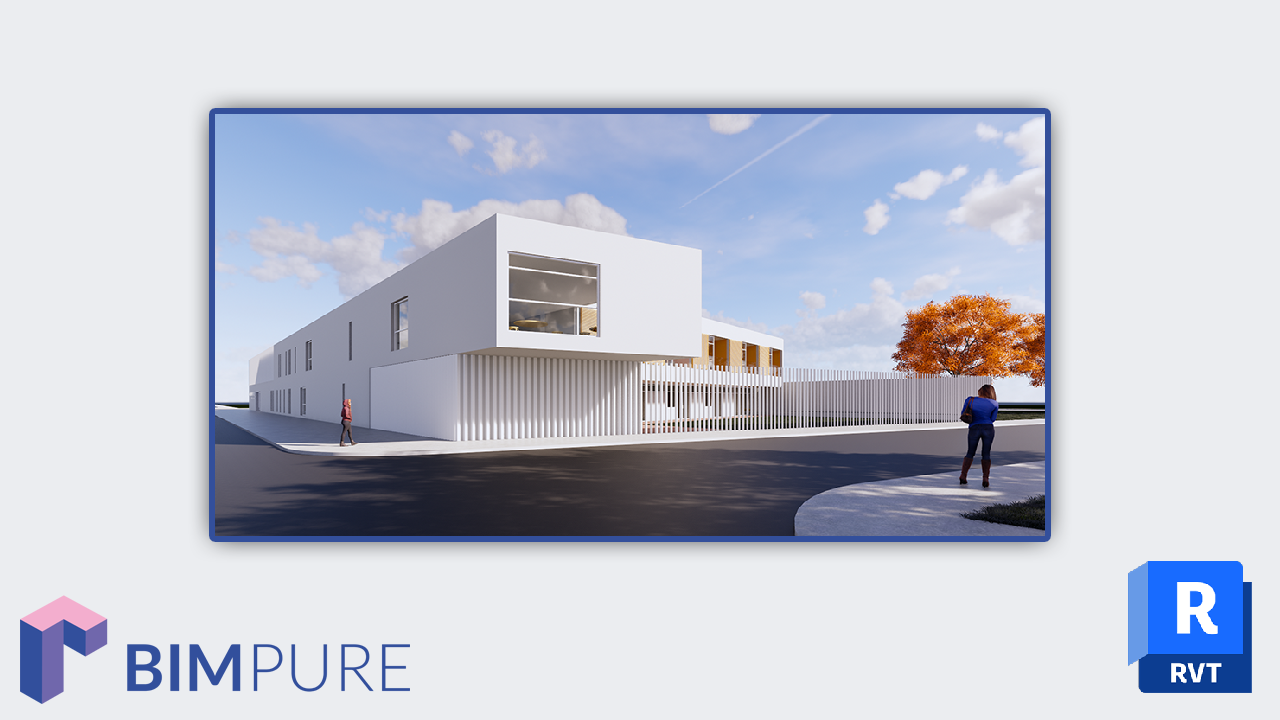
For the purpose of this test, we are using a project submitted by a user, Antonio Aramburu. It is an elderly residence located in Casar de Cáceres in the southwest of Spain. Check out the website of the firm right here: http://tabim.es/
Here is a blind test of all the rendering tools. Can you match the number with the plug-in?


PROS:
Decent looking colors.
Good shadows.
Interesting reflections.
CONS:
Horrible sky that you will need to Photoshop out.
Some elements could be sharper, like the vertical elements on the right side.
Dealing with the cloud rendering service can be a hassle.
The Autodesk Cloud Rendering service lets you create renderings on Autodesk servers while you can keep working on your Revit file. The cloud rendering tool is usually a little better than the native renderings (as you can see in the next image).
Cost: free for low-quality, requires credits for high-quality
Website: https://gallery.autodesk.com/a360rendering

PROS:
Included in Revit, no need for additional software.
CONS:
Feels outdated.
Limited rendering options
Lighting could be better: global illumination would be nice
Renderings can take a long time to create
Horrible sky that you will need to Photoshop out.
Flat shadows, dull colors and reflections
Compared to the Cloud rendering, the Revit native rendering seems a little more dull. Creating a nice image with this tool usually requires a lot post-processing in Photoshop.

PROS:
Absolutely gorgeous sky, without any need for Photoshop.
Great looking entourage automatically replaced from Revit families.
Sharp colors.
Great global illumination and exposure that gives the shaded side just enough light.
Interesting reflections.
Intuitive user interface and settings control.
CONS:
Limited choice of people/trees entourage (*update: the new Enscape 2.4 release now contains an asset Library. Check out the update here.)
The rendering above took only a few minutes to create and adjust. The settings in Enscape are very easy to use and to test. The global illumination and auto-exposure tools help you create a decent looking view within very short period of time.
We made a full blog post about how great Enscape is last year: click here to read it.
It is also one of the best choice if you want to create a virtual reality experience.
Cost: 449$/year
Website: https://enscape3d.com/revit-rendering/

PROS:
Precise rendering tool with a lot of advanced settings and customization.
CONS:
Default textures are ugly. Creating custom textures can be long and complicated.
You need Photoshop to create a decent sky with clouds.
Default Revit entourage doesn’t look good.
Vray is an old-school raytracing plugin that is beloved by many. Let’s be honest: this rendering is not very impressive. The image above doesn’t represent what some people are able to achieve with Vray. If you are in a hurry, Vray is not a good choice. If you have a lot of time on your hand to create custom textures and post-process the image, it might be an interesting choice.
Cost: 350$/year
Website: https://www.chaosgroup.com/vray/revit

PROS:
Amazing objects, trees and people library.
Fun and exciting to use.
Good looking sky, grass and environment without Photoshop.
CONS:
User interface can be a little confusing.
Default textures are not impressive.
I love Lumion. The huge library of objects, characters, cars is useful. It is the best tool to create animations. But this rendering is a little lacking. The default textures don’t translate very well. The entourage doesn’t feel as real as in Enscape. I had incredible results with Lumion, but they usually require a little more time to set up, adjust the textures and to create the perfect camera settings.
A full review of Lumion is coming in the next few months.
Cost: 1700$ (basic version) to 3460$ (pro version) - perpetual license
Website: https://lumion.com/

PROS:
Decent trees/entourage library
Fun user interface
Decent textures
CONS:
Weird looking clouds
Odd shadows and reflections
Twinmotion is the spiritual brother to Lumion. They have a similar slick, video-game like user interface. They both have a great library of objects, people and trees. They both require a similar amount of time to create a good rendering. Lumion might have a slight edge, but Twinmotion remains an interesting choice.
The default rendering test produce some interesting textures, but the shadows and reflections are a little lacking. Like with Lumion, you need to spend more time to adjust the camera settings and textures to get a realistic look.
2024 update: Twimotion is now included for free with a Revit license.
Website: https://www.twinmotion.com/en-US
The results of this test are pretty conclusive: Enscape is the best tool to create a great rendering when time is limited. Some of the other tools discussed above are great, but they require more time to set up the textures and camera settings properly. Autodesk cloud rendering service is another decent option if you are time-limited.
Enter your details below to get this free guide.