9 Tips to Understand Revit Roofs
Feb 26, 2018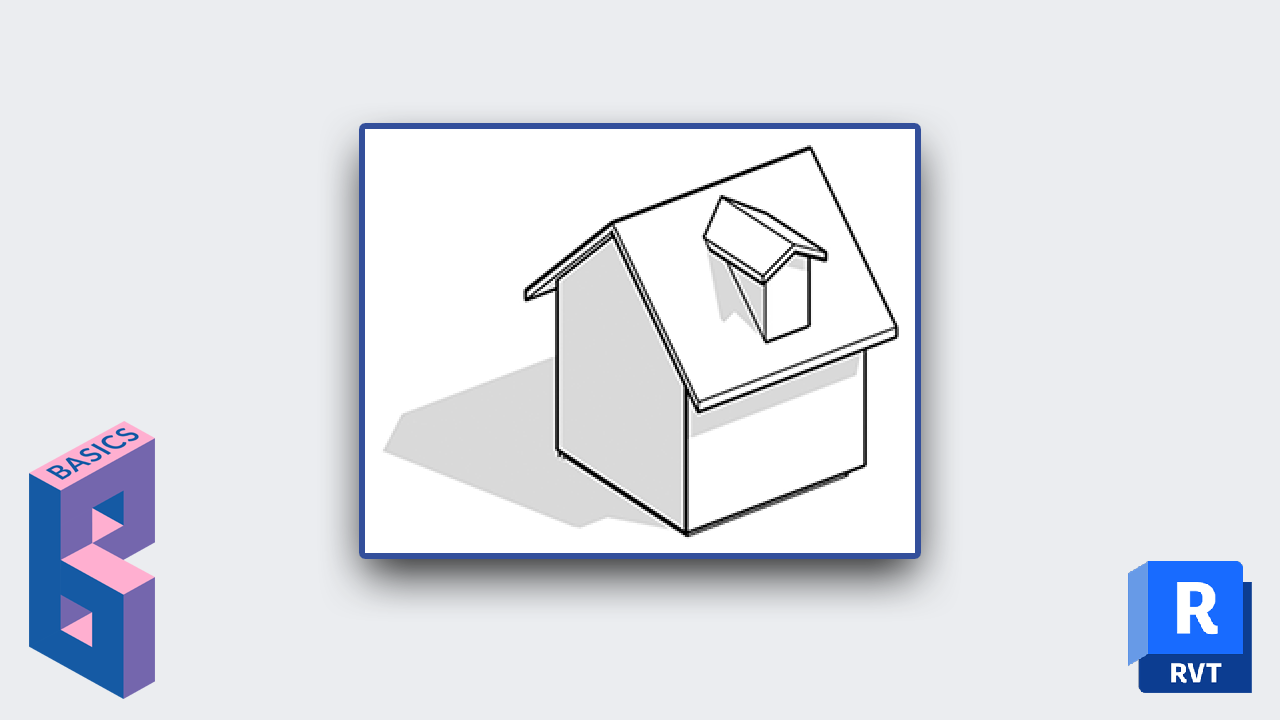
Struggling to create the perfect roof in Revit? Not sure how to create a slope? Want to create a dormer window? We've got you covered.
This guide provides the answers to the most common roof problems beginners face with Revit. You can also watch the video tutorial below if you prefer.
Want to create a flat roof? In the option bar, make sure Defines Slope is deactivated before drawing the boundary.

To turn a sloped roof into a flat roof, select all roof boundaries purple lines and uncheck Defines Slope in the option bar.

Want to create a sloped roof? In the option bar, make sure Defines Slope is activated for boundary lines.

If slope is active for boundary lines, a triangle symbol will appear next to them.
To create a hip roof (4-side slope), define slope for all boundaries. To create a gable roof (2-side slope), remove slope for half the boundaries.

Click on a roof and change the angle in the Slope Properties. You can use any units, like % and ratios (1:10). They will be converted to the default units, angles in this case.

Want an odd shaped roof? You have to edit the roof boundary and change the slope for each individual boundary line.

Use Pick Walls if you want the roof to automatically adjust when walls are moved. You can set an Overhang on roofs created with Pick Walls. Select each boundary line and set the value in properties or in Option Bar.

Want a hole in your roof? Try Openings. Use Vertical opening, or By Face if you want the opening to be perpendicular to roof slope.

Shape editing tools are used to create flat roof slope. Modify the height of points to create the desired slope. Add points manually or create them automatically with split lines.

In the example below we add a bunch of points and change their relative height with Modify Sub Elements tool. Add a negative value to the middle points and a slope is created. You might prefer to use the Add Split Line tool, which create points at intersections.

Use the Reset Shape tool to go back to a completely flat roof, removing all split lines and points.

Want a sloped structure or a sloped insulation in your flat roof? By default, the whole roof will be sloped. Check Variable material in the roof structure to create sloped insulation. The insulation thickness must be at least as thick as the vertical slope else you will receive a warning.

To create a dormer, model required walls and additional roof. Then follow these 2 steps:
Use Join/Unjoin Roof tool: This tool is located in the Modify tab. Use it to extend the dormer roof to the main roof.

Create a Dormer Opening: Located in the Architecture tab, this tool is used to create a dormer shaped hole in the main roof. Select the main roof, then click on dormer walls and roof. Click the green check to complete the opening.


🔥 Save big: Get 20% off on all BIM Pure courses & content.
🧠 Get Revit Mastery: Access our full catalog of courses, templates, families, and live events.
Enter your details below to get this free guide.