6 Steps to Create Efficient Plan Notes in Revit
Mar 14, 2018

Many people coming to Revit from the AutoCAD world use old school 2D techniques to create plan notes in Revit. Using the power of the BIM, you can create a much more efficient and convenient plan notes system.
This guide will teach you all the steps required to create a plan note system using a Generic Annotation family and the Note Block tool. While it is possible to create a similar system using Keynotes, it is much more complicated and we recommend the Note Block technique for beginners and intermediate users. If you are working on a huge project, consider exploring Keynotes.

The basic ideas for this note system has been inspired by a great blog post over at landarchbim.com. We have used this technique for years, but it has now been refined to be even more efficient and easy to use.
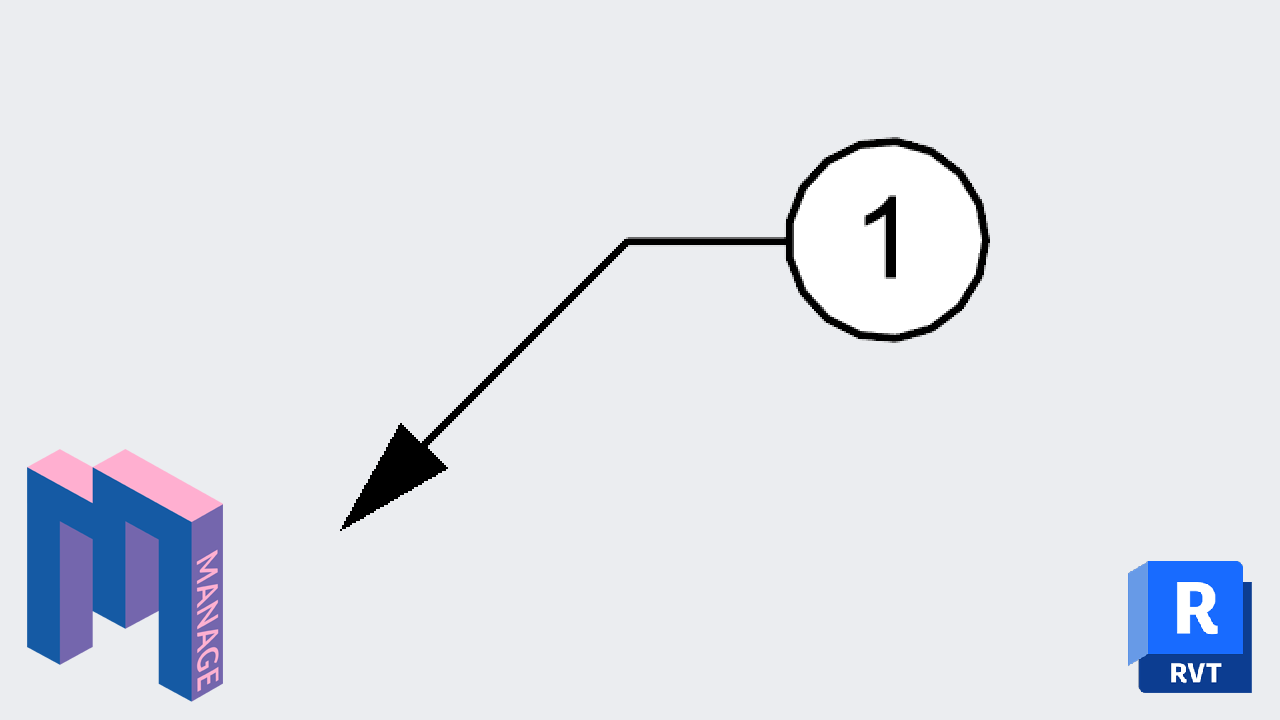
Create a new Generic Annotation family. Draw a circle bubble or any shape that you want for your note number. Use the Line tool or the Masking Region if you want the bubble to be opaque.

Go to the Generic Annotation type properties and add these 4 parameters. All of them are instance parameters.

Create a label in the center of the circle. Use the new "Note Number" parameter.

Add another label next to the bubble symbol. Use the Note Text parameter. Then, set the Text Visibility parameter to control the visibility of the text. That is used to be able to open and close the label with a single click.

You can now load the family into your project.
Go to the Annotation tab and click on Symbol. Select your new generic annotation family and click on the plan to create a note bubble. Fill out all the information directly on the view or in the instance properties. Make sure to select a View Type that match the view you are in.

In the View tab, click on the schedule and select the Note Block tool. Select the new Bubble generic annotation you've just created.

Add the 3 parameters in the schedule like in the image below.

Next, you have to filter the Note Block using the View Type parameter. In this case, this specific schedule will be used for Floor Plan notes, so View Type has to equal Floor Plan.

Then, go to the Sorting/Grouping menu. Sort by Note Number. Then, sort by Note Text. If you don't do that, the Note Text will disappear in the schedule if you have multiple notes using the same numbers but with different text.

The final step is to check the Hidden Field box for View Type in the Formatting menu of the Note Block. We need this field to filter the schedule, but it has to be invisible in the schedule itself.

You can now start creating all the notes for your views. There is a couple things you need to know with these notes. Like you see below, if you have a note that appears multiple times in a project and share the same number and text, the multiple instances will be grouped in the schedule.

In the example below, we change the number for note #1 - ALIGN THE BRICK. As you see, all instances of this note number are adjusted. The strength of this note system is that changing numbers and text is extremely fast, easy and efficient. If you realize you have been using the same number for multiple descriptions, it can be fixed instantly.

Finally, to keep track of all the notes in the project, create another Note Block schedule with the same parameters as the other one, but this time add the Count parameter. You can remove the View Type filter we used in the other Note Block.

In the Sorting/Grouping menu, sort by View Type and check the Header box. Then, sort by Note Number and Note Text. Make sure to keep the Itemize Every Instance box unchecked.

As you see in the image below, this result in a schedule containing all notes from all view types. It also display the Count parameter, which indicate how many instances of each note exist in the project. This schedule is usually not placed in a sheet. It is used internally to keep control over the project.

Don't forget to use the Highlight in Model tool to show each note in context.


Did you like this post? You should download the brand new edition of our free seasonal publication called Pamphlets. It contains this entire blog post in PDF format as well as pages of extra tips and tricks about how to create an exterior material legend.
Enter your details below to get this free guide.