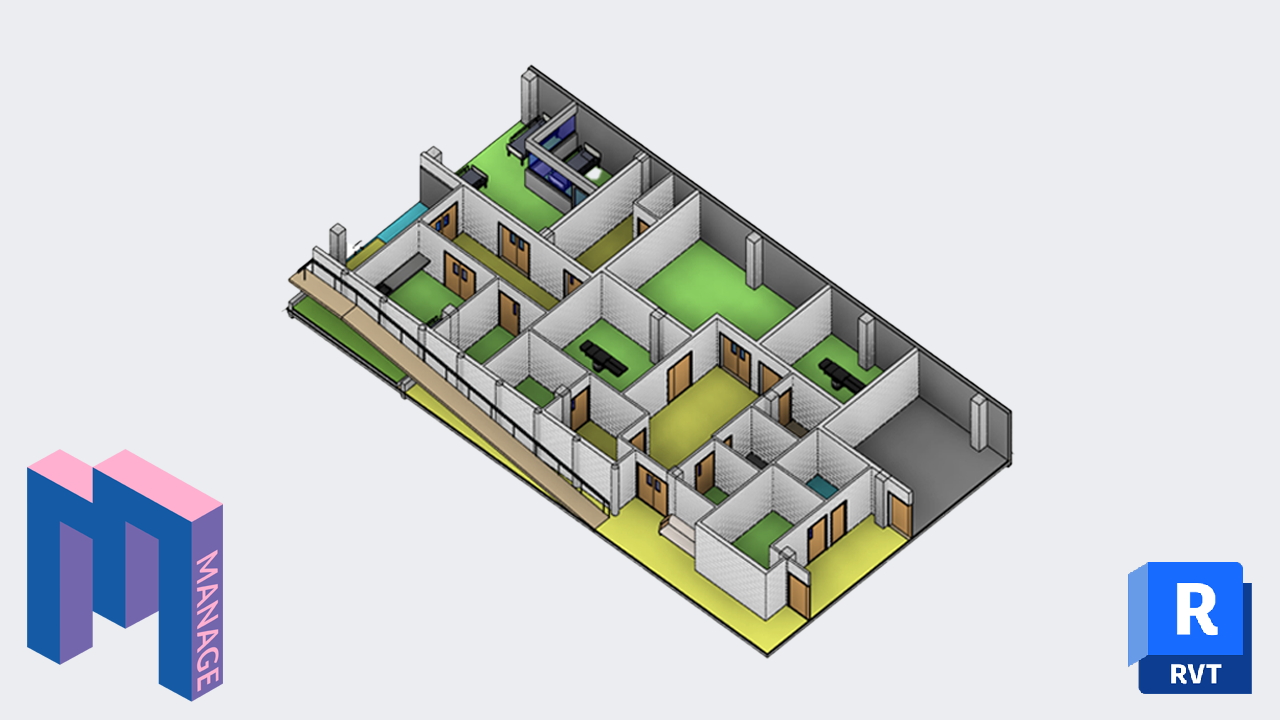
3 Dynamo Scripts to Automate Interior Design in Revit
Jan 11, 2022

This post includes 3 scripts you can download to automate interior Design in Dynamo. These scripts were created by Bill Carney and included in his LinkedIn Learning course called Revit and Dynamo for Interior Design.
Bill discussed these scripts in a recent episode of BIM Pure Live:
Make sure to download all the required custom packages for Dynamo. Also, script #3 requires a custom node you need to install. Follow the instructions.
Finally, it is recommended you get familiar with the script by trying it in the sample file provided.
Thanks and good luck.
EDIT: we’ve added a video tutorial on how to use these scripts:
Download Dynamo Script and Sample File
This script allows you to create families along the boundaries of a room. In this example, we create bookshelves:

Not only this script create families, but it will also automatically create a unique mark that matches the wall on which it is placed. For example, the shelf below has “SW” for south-west. It draws the value from a wall parameter. Also, it will use the prefix of the level number:

Download Dynamo Script and Sample File
Required custom package: Clockwork
To download these nodes, go to the Search for a Package menu in Dynamo:

Then, type in the package you want to download. Click on the arrow to install.

This script will take the “Room Finish” parameter from your room schedule:

It will create a thin finish floor type for each different finish. Then, it will create the finish floor with the correct type for each room.

Rooms that have the “NONE” in the floor finish won’t have a floor finish created.

Download Dynamo Script and Sample File
Required custom packages:
Clockwork
Archi-Lab
spring nodes
For the next script to properly work, you need to install a custom node.
First, download the node.
Then, go to the folder below. Replace "[your-user-name ]” with your actual Windows user name. You can also simply type %appdata% in your windows bar.
![]()
You should see the list of all Dynamo versions:

Open each version of Dynamo you plan to use. Then, open the definitions folder.

Drop the custom node in this folder.

All right, you are all set for this script to work.
This is a super-script that does a lot. It creates wall protections like this:

Then, it adds a door signage that includes the room number and room name.

Make sure to try it out on the sample file first.

Are you a Dynamo beginner? Download our free Dynamo guide for beginners:
Enter your details below to get this free guide.