16 Tips to Master Model Groups in Revit
Jun 22, 2022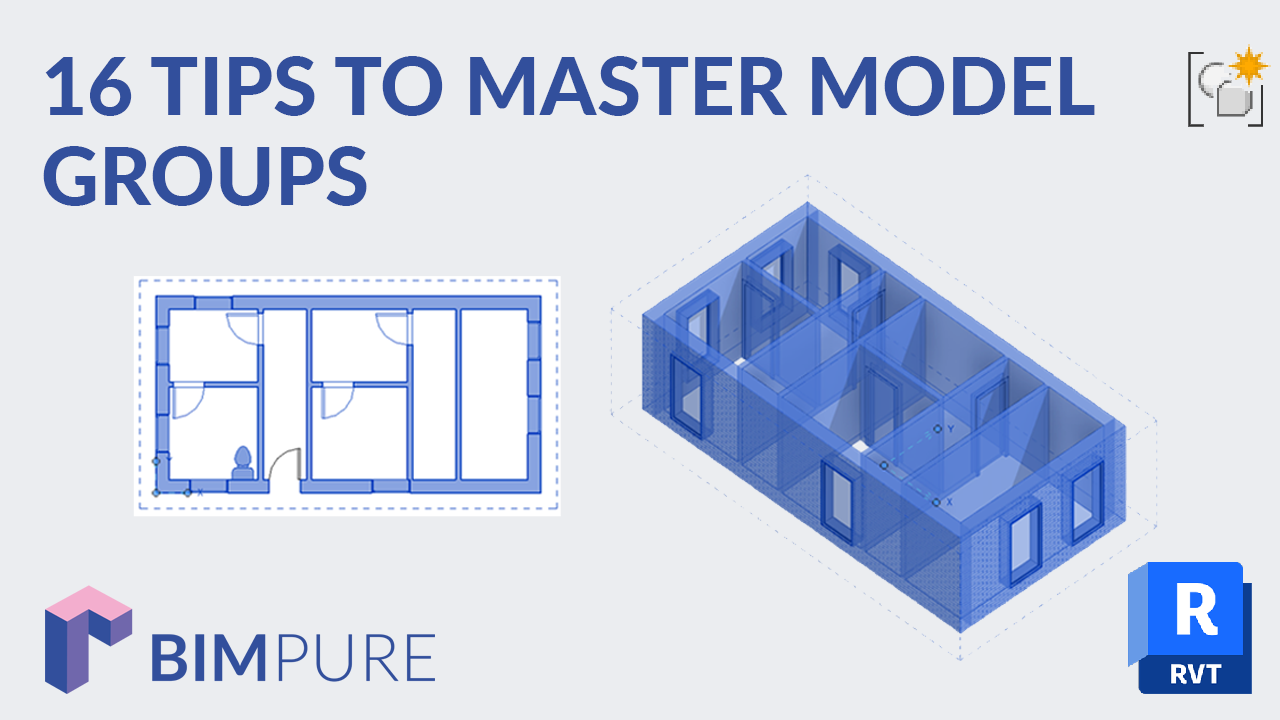
Model groups in Revit have a bad reputation. Many users avoid them completely. Indeed, they can be buggy.
However, they are still the best option when it comes to modeling repetitive interior layouts like apartments. This post starts with an overview of the tool. Then, you will get tips to have a smooth experience using groups.
Special thanks to Niall Kelly, Aaron Maller and Nivin Nabeel for their research into groups, which were helpful to create this post.
Select multiple elements. In the Modify tab, select the “Create Group” tools. Set a name to the group. You can then copy and paste the group.

![]()
To modify a group, select it and click the Edit Group icon. The group has a yellowish tint around it. When you are done, click the green check to complete.

![]()
Use the ungroup tool to make the elements independent.

Use the Add/Remove tool once inside a group to add and remove elements to the group.

Each group has an origin represented by a blue dot. This origin can be moved. Typically, you should place it at the intersection of important walls or grids.

This origin can be used when creating a model group. Although most people create groups with the copy and paste tool, it can also be placed from the Architecture tab.

Select a type. The placement will be based on the position of the group’s origin.

There is a whole part of the project browser dedicated to groups. You can drag and drop a group from here to create a new instance.

It is also possible to Edit a group from here by using the right-click menu. This is different from opening the group by selecting one in the model. This opens a different Revit file that you need to save.
It is possible to convert a group to a Revit link. Click this tool in the ribbon:

You will need to enter a name to the linked Revit file. The reverse is also possible. Once a Revit link is in the project, you can Bind Link to convert it to a group.
This process might cause a few issues, so be careful.
There are two group types in Revit: model groups and detail groups. Model elements cannot be part of a detail group and vice-versa.

However, you can attach a detail group to a model group. In this example, we create dimensions, a wall tag, and a room tag referring to elements from group B. When grouping the annotation elements, Revit asks us to create an attached detail group. Name it consistently.
Then, select a different instance of this model group. You should now see the “Attached Detail Groups” icon in the modify tab. Click it and select the correct detail group to attach


Datum elements include:
Grids
Levels
Reference Planes (with some exceptions)
Scope Boxes
Having a level inside of a group is especially dangerous: you can corrupt your model.
In general, you should avoid in-place families. Inside of groups, they are even more dangerous. Avoid them.
Nesting groups (groups inside of groups) isn’t a problem by itself, but you must be thoughtful about how you use this feature.
Avoid nested groups that could be nested families instead. For example, if you need a table + chairs, create a nested family instead of creating a small nested group with these components.

A few other principles of nested groups:
Don’t go more than 2 levels deep (a group within a group, not a group within a group within a group).
Consider unnesting the groups as the project progress.
Ask yourself if it’s worth it. For example, if part of a group is only shared with a single other group, the time saved by nesting group might not be worth it.
It might complicate the use of scheduling and Dynamo automation.
My workflow: I prefer not to use nested groups.
Contrary to popular belief, mirroring the groups will not cause corruption or break the groups. However, some elements will be “reversed” even if they shouldn’t be.

For example, plumbing hot water vs cold water will not be in the right position. Be careful with liability!
To be extra safe, it might be better to have right and left variants for each group. If you still decide to mirror groups, explore and verify them first to ensure nothing is broken.
Some people (ahem, Revit Cat) think you should be very careful when using the mirror tool because it messes up the ElementID and causes problems with hosted families. Link here.
Ceilings are especially vulnerable to mirrored groups.
The “exclude element” tool allows you to remove elements in a specific group instance.
In theory, it is helpful. In practice, it makes me a little nervous. Was the element deliberately excluded? Is it a mistake or a bug?

Excluding elements can be automatically done when there are host/hosted elements issues. It might indicate there are problems with the group.
If you decide to exclude elements from a group instance to reduce the number of group types in the project, document the process and let users know it has been a deliberate decision.
My workflow: I generally avoid using “Exclude Element”.

The “Fix groups…” tool doesn’t fix groups at all. Instead, it will either ungroup the group or duplicate the group with a new name.


When you get that warning, click Cancel and manually fix the problem.
You often get this issue with hosting/hosted elements getting separated.
As you can see below, the possible “fix groups” options won’t fix your problem at all.
If you try to constrain a sketch-based element (floors, ceilings or roofs) to an element that isn’t inside a group, you will get a warning that prevents you from doing it.

If you try to add a sketch-constrained element to a group after it is created, you will get this warning:

In the example below, you can see a user constrained a group to a window that is not part of the group. This is a terrible idea! If you move one of the elements, you will get warnings... including the annoying “broken” group that needs to be “fixed”.

Don’t include exterior elements in a group created for repeating interior parts like hotel rooms, apartments, patient rooms, etc. Exterior and interior don’t mix well in the same group.
Party walls, corridor walls, and corridor doors shouldn’t be part of a group.
You cannot include elements in a group that are hosted on party or corridor walls. Instead, replace them with non-wall-hosted elements.
The exception to these rules is modular construction. The content of a group should reflect the actual components of the module. The elements built directly on site and that are not part of a module should not be included in groups.
As you can see below, the corridors and exterior components aren’t included in the group.

Groups don’t like when multiple levels are referenced inside of it. The top of the wall should always be Unconnected.

If the top of the wall has a level constraint, you risk causing issues. For example, moving a level will cause the annoying “Fix Groups” warning.

If you want to use the same group for levels that might not have the same distance between them, you can use the Attach Top/Base. Using this tool only affects specific instances of the walls and will not cause “fix groups” issues.

Always include both the hosting and hosted elements in the group. Else, you’ll get warnings, bugs and chaos.
In the example below, a toilet is part of a group, but not the hosting wall. If you copy and paste the group, the corridor wall-hosted “toilet” is excluded from it. If you try to unexclude the element, you’ll get a warning.

It might be an excellent strategy to completely avoid hosted families to avoid issues with hosting/hosted elements. For example, pick a toilet placed on a level instead of a wall-hosted one.

Make sure all elements in a group are hosted or constrained to a single level. We’ve already established that walls should not be top constrained to a top level but should use “unconnected height” instead.
Let’s use another example: ceilings. Make sure to set the ceiling height from the bottom of the floor, not a negative offset from the level above. Example: set a 2410mm offset from Level 1, not -500mm offset from Level 2.


In addition to walls and ceilings, follow this rule for all other components, including furniture, plumbing fixtures, lighting fixtures, floors, etc.
Face-based families behave weirdly inside groups. For example, if you offset a whole group, everything moves except the face-based families. Better to avoid them completely.

Don’t hesitate to use rooms inside groups. The room name cannot vary from one group instance to another, but the room number can. Revit will automatically create a new room number for a new group containing a room. You can adjust this number.

Elements inside groups all belong to the same Workset. This Workset is assigned directly to the group.
However, each group instance can have a different Workset. It is generally easier to keep all instances of a group type in the same Workset. In the image, you can see the Workset of a group can be changed.

However, the individual Workset of elements inside the group can’t be changed. The parameter is grayed out.


Do you want to get even more group tips? Download our exclusive free pamphlet PDF guide about groups, which you can share with your colleagues and with your entire family.

🔥 Save big: Get 25% off on all BIM Pure courses & content.
🧠 Get Revit Mastery: Access our full catalog of courses, templates, families, and live events.
Promotion ends on June 22nd.
Enter your details below to get this free guide.