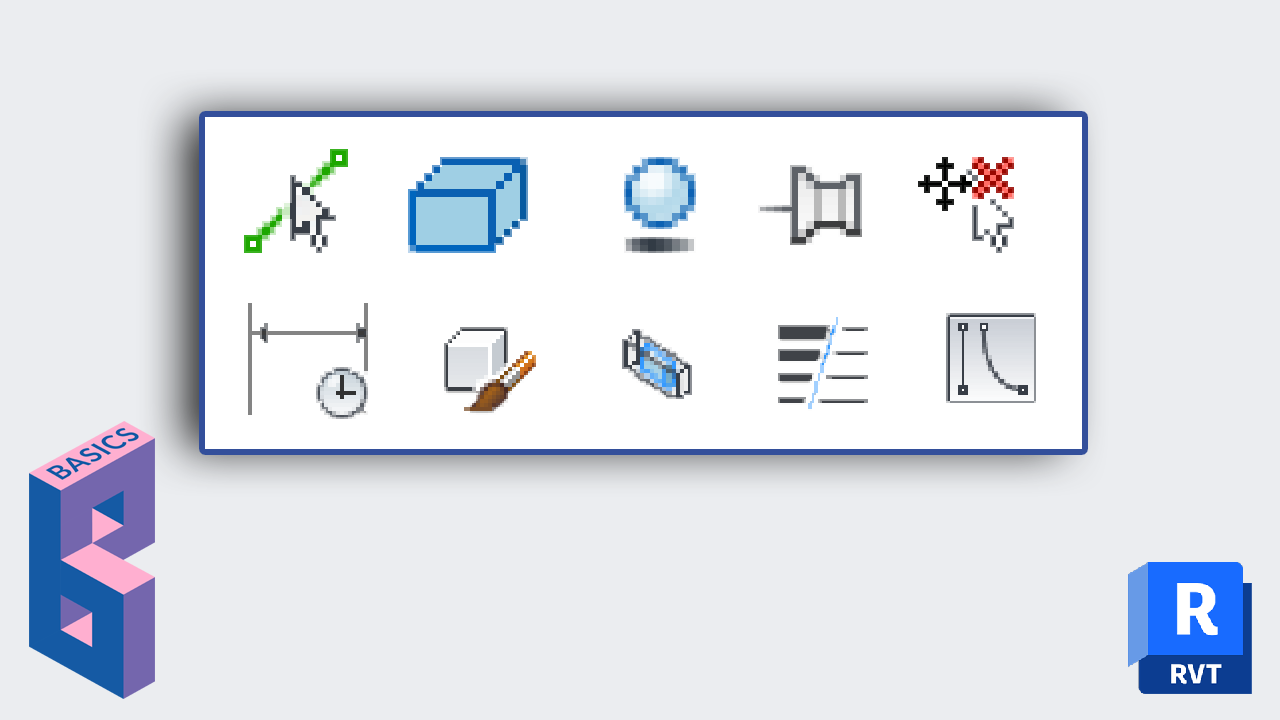
12 Revit Tools Beginners Should Use
Nov 12, 2019

The most helpful Revit tools are often underused by beginners. This article describe the tools that most beginners don’t know about, but they should.
Obviously people of all skills can use these tools, but they are especially helpful if you are getting started.

There is a lot of ways to modify elements in Revit, but the Align tool is the most useful. First, it is a really quick tool. Most elements that you want to move in Revit will be in a certain relation to other elements. Align makes that process a little faster.
Select the Align tool in the Modify tab. Click once on the reference element, then click again on the element you want to move.

The other reason why this tool rocks is that you can both Move and Rotate an element at the same time. As you see in the example below, we rotate a component back to an orthogonal position by aligning it to a wall.

Whenever you use the Align tool, you will notice that a small lock icon will pop up. You can click on the icon to constraint the elements together. That means if one if the element is moved, the other will follow.

When placing component families, you will notice that there might be additional references in addition to the geometry edges. That’s because the align tool will automatically highlight reference planes. In the bed family we have below, you can see there is a reference plane in the middle of the bed. The reference plane is invisible when loaded in a project, but you can still use it as a reference when using the align tool.

Note: this feature can be turned off. In the family, set a reference plane to “Not a Reference” in the “Is Reference” parameter.

A common complaint among beginners is that it is difficult to quickly build a layout and experiment with dimensions.
A great way to work is to make a quick layout using Detail Lines. This line type is only visible in a single view, they are not part of the 3D model. That means you don’t have to be worried about messing up a model and angering your colleagues.
When using Detail Lines to build a layout, use a colored line to distinguish the lines from the real model elements. The red color is great for that.

When your “quick layout” is complete, you can build walls over it by using Pick Lines (see tool #7).
You can also group your layout and preserve it elsewhere.

Revit is a “What You See Is What You Get” software. That means unlike AutoCAD, what your see on your screen is going to be printed exactly the way you see it. While that’s mostly a good thing, it can get a little annoying when you are modeling elements. The line thickness might prevent you from seeing elements that are close together
To solve the issue, Revit provides a feature called Thin Lines. You will find this tool in the View tab or by using shortcut TL. Every line will get a width of 1 pixel. This tool only affects your screen; printed elements will show the real thickness.

You get the most out of Revit when you work with both a plan view and a 3D view opened at the same time. The selection box tool allows you to show in a 3D view an element you selected in any other view type. The selection box will create a section box around the element. Everything outside that box will be invisible.

BE CAREFUL NOT TO OVERRIDE YOUR 3D VIEWS
Watch out: the Selection Box tool will override your default 3D view. That means if you want to keep a copy of selection box views, you have to rename them so they don’t get overridden. The default 3D view is the one with the { } symbols.

Former AutoCAD users often delete important objects in Revit. Deleting elements such as Levels and Grids can cause serious issues that will take hours to fix.
There is a way you can hide an element in a view while still keeping it in the model. Select the element and use the Hide (shortcut: EH) tool. You can also use the right-click menu to find the command.

Click on the small lamp icon at the bottom of the view to see all the hidden elements and bring them back if necessary.

Eventually, you should start using advanced visibility features such as the Visibility/Graphics menu, but Hide In View is a great tool for beginners.
Anytime you select an element, you will see a bunch of small blue lines and blue text appear. These are temporary dimensions. You usually get both a vertical and horizontal temporary dimension that will be in reference to neighboring elements. You drag the blue dots to adjust the witness line reference.

You can make any temporary dimension permanent by clicking on the small icon below the blue value.

Explore content created and curated by AEC and BIM experts. Everything is included in the membership.
When creating walls or other similar where you have to draw linear elements, make sure to use the Pick Lines draw option. It allows you to click on a line to instantly create an element matching the boundaries of the line. In the example below, a wall is create by picking a linked CAD file.

Another use of this feature is to create the boundaries of elements like floors and roofs. For example, you can use Pick Lines and click on the boundary of walls. You can even click on the lock icon to make sure the boundaries are constrained to the walls.

Are you enjoying this post? Maybe check out our video tutorial called 13 Beginner Mistakes To Avoid In Revit.

As you can see in this image, Revit offers 6 different visual style you can use to display views. One of the most interesting is Consistent Colors. It is both a fast and accurate style that makes your views a little more interesting then Hidden Lines. One of the best way to work in Revit is keep a plan view opened along with a 3D view set to Consistent Colors.
The visual style can be modified by clicking on the cube icon at the bottom of your screen.


There are two types of Shadows in Revit: Cast and Ambient. Cast is well known, but most people don’t know about Ambient. It is used to mimic the natural lighting condition from a cloudy sky and reflection from surrounding objects. Go to Graphic Display Options in the view settings. Go to the shadow submenu and check Show Ambient Shadows.
This type of shadow works best with views using Consistent Colors visual style. The effect is sometimes too intense with the Hidden Lines style.


A common complaint of new users is the difficulty to quickly change the graphics of specific elements. Try using the Override Graphics In View feature. Select an element and use the right-click menu to find the tool. You will be able to override the line styles, pattern, transparency and halftone parameter for that element. This will only affect the element in a single view.


Beginners often move and delete elements by mistake. There is an easy fix for that. Just use the PIN tool, located in the contextual tab. The pinned elements can’t be deleted unless they are unpinned first. You should always pin critical elements like levels and grids.


At the bottom right of your screen, you will see a bunch of little icons. They represent selection options that can be activated and deactivated. A red X next to the icon means the selection option is disabled.

The icon that is most problematic is called Drag Elements On Selection. If left activated, you can select and move in a single click. Over the years, I witnessed hundreds of elements that were moved by mistake because this option was left activated.

To turn off this evil feature, click on the icon like in the image below. When activated, you will have to select an element before you are able to move it.
Enter your details below to get this free guide.