10 Revit Tools Students Should Use in the Studio
Oct 29, 2016

In a recent post, I explained how Revit is considered "not cool" in college, mostly because it is perceived as a technical tool. Professors think students will use it to produce bland projects with pre-made components.
Design and presentation tools are not obvious for beginners. This post attempt to give students a few tips on how to break the "boring technical tool" paradigm and create compelling presentation documents.
No need to export elevations to Photoshop if you want shadows. Revit can do that for you.

Go to Graphic Display Option in the view control bar to access shadows. There is two type of shadows in Revit: Ambient and Cast. Ambient shadows mimic the effects of a cloudy sky. It can produce very interesting documents, the downside is that there is no way to control the intensity of the effect.
Cast shadows intensity can be adjusted in the Lighting menu, by reducing or augmenting the Shadows value. Use Sun Setting menu to adjust sun orientation.


Want a cute presentation plan with poche? Go to visibility graphics (shortcut: VG) and find the wall category. Click on "Patterns" under Cut sub-menu. Select solid fill and set the color you wish. That's it! Your poche plan is ready.


By default, 3D views and elevations can feel a little flat. Activate silhouettes in Graphic Display Options to make edge lines thicker. This tool is a quick way to give a sense of depth. For more precision and subtlety, Lineworks tool might work better.


Revit has the reputation of producing ugly elevations. I think this myth will slowly fade away once people see the power of the Depth Cueing tool. It creates a gradient of grey based on how far elements are located. See this post on elevations for a complete tutorial.

This is a tool available in 3D views to cut through your project. Simply move the blue arrows to adjust the section box. You will find this tool in the properties of a 3D view.

I remember waking up in the middle of the night to make sure my FormZ rendering didn't crash. These days might be over with the free cloud renderings features that Autodesk offer to student. Send your Revit model to Autodesk server, receive a complete rendering by email less than 1 hour later.
More than just still images, you can also produce 360 panorama views and VR rendering. How cool would it be to present your project with VR goggle?

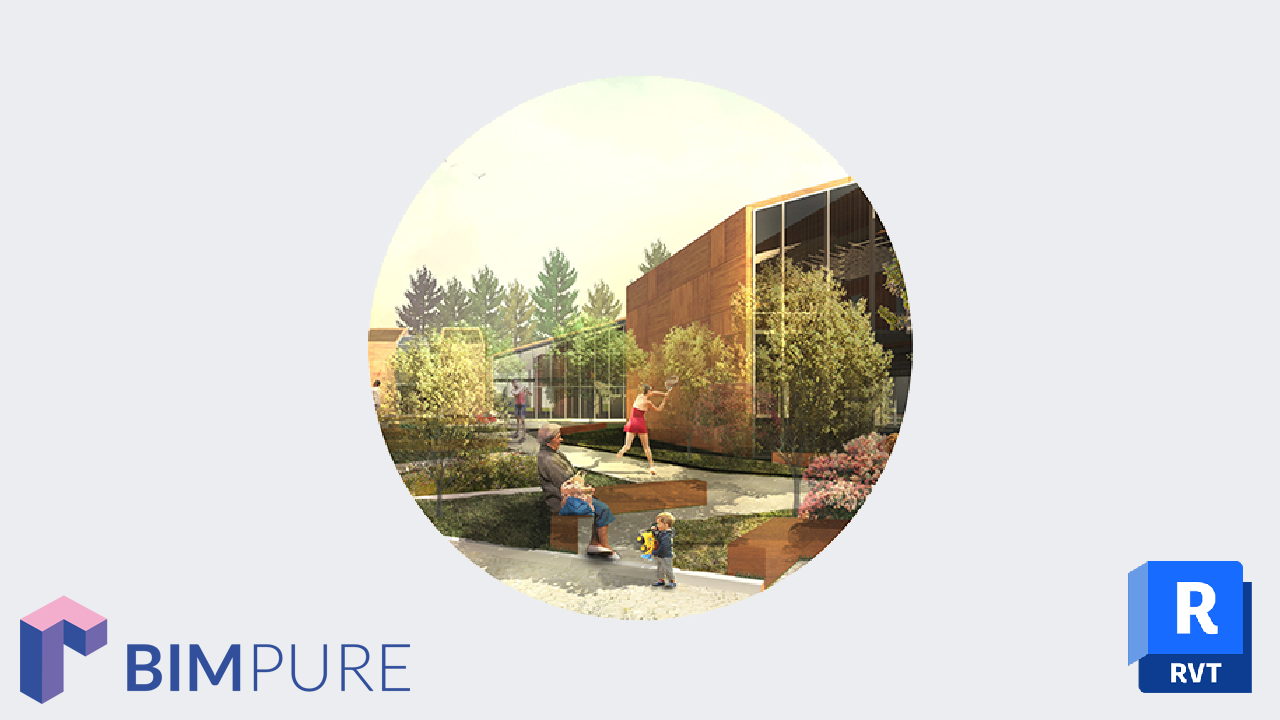
I think the image above also breaks the myth that Revit should not be used for renderings. For more info on cloud renderings, click here.
When I was in college, I had to export dwg plans to Illustrator to add color and create poche. If the plan was modified, you had to start all over again.
In Revit, all this can be done automatically with the use of Color Scheme. Make sure you have created rooms, then use the Color Fill Legend tool in the Annotate tab. Set the correct department for each room in properties and adjust the colors.

Professors usually don't like Revit, because they think students only use pre-made components, resulting in bland projects.
The best way to solve this problem is to experiment and have fun with the family editor. It is extremely powerful and can create the sort of exciting geometry your professor is expecting you to produce.
The learning curve can be a little steep for families. Maybe try Bim After Dark vol.3 or watch people produce completely amazing families, like in the video below.
View templates can be used to take settings from a view and apply them to other views.
In the first image you have the default boring Revit perspective view. Each time you create a new 3D view, this is the look you will get. Boring, eh?
To solve this problem, create a view template based on a 3D view you like. Then go to 3D views type properties and assign a view template. All new 3D views will have the shadows and colors look.


Eventually students are required to calculate values, like areas and number of occupants. With schedules you can keep a close eye on these elements. Below we have a Room schedules. We calculate occupants and total area for each room and department.

Enter your details below to get this free guide.